PhotoTiles |
Create Images of Tiled Media.


PhotoTiles creates a tiled photo of a folder of images, web page graphics, movie frames or PDF files pages of various dimensions and sizes. When tiling images in a folder the program can also generate an HTML image map file. When tiling a PDF you have the option of creating tiles of images or as true PDF pages, one per "cell," in a single page PDF.
Annotated Screenshots
Click on the images to view them closer.
Usage
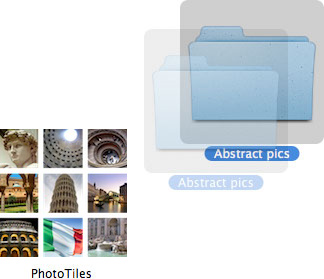
After the program is configured by specifying a few options, simply drag a folder of images (or movie file) onto the application, or its main window:
Or select "PhotoTile Browser URL" to tile the images on the current web page (Safari, Firefox, Camino, OmniWeb, Flock, Opera, Google Chrome):

An example of generating output for a movie file is here.
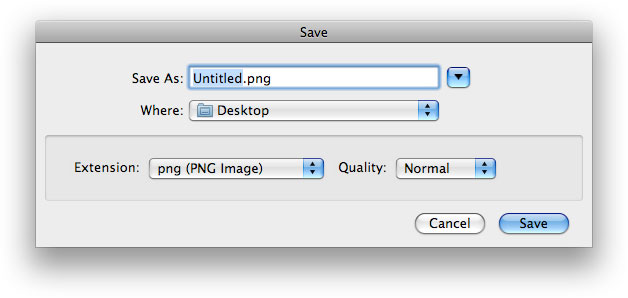
After processing is complete you will be prompted to specify the output image format and location:
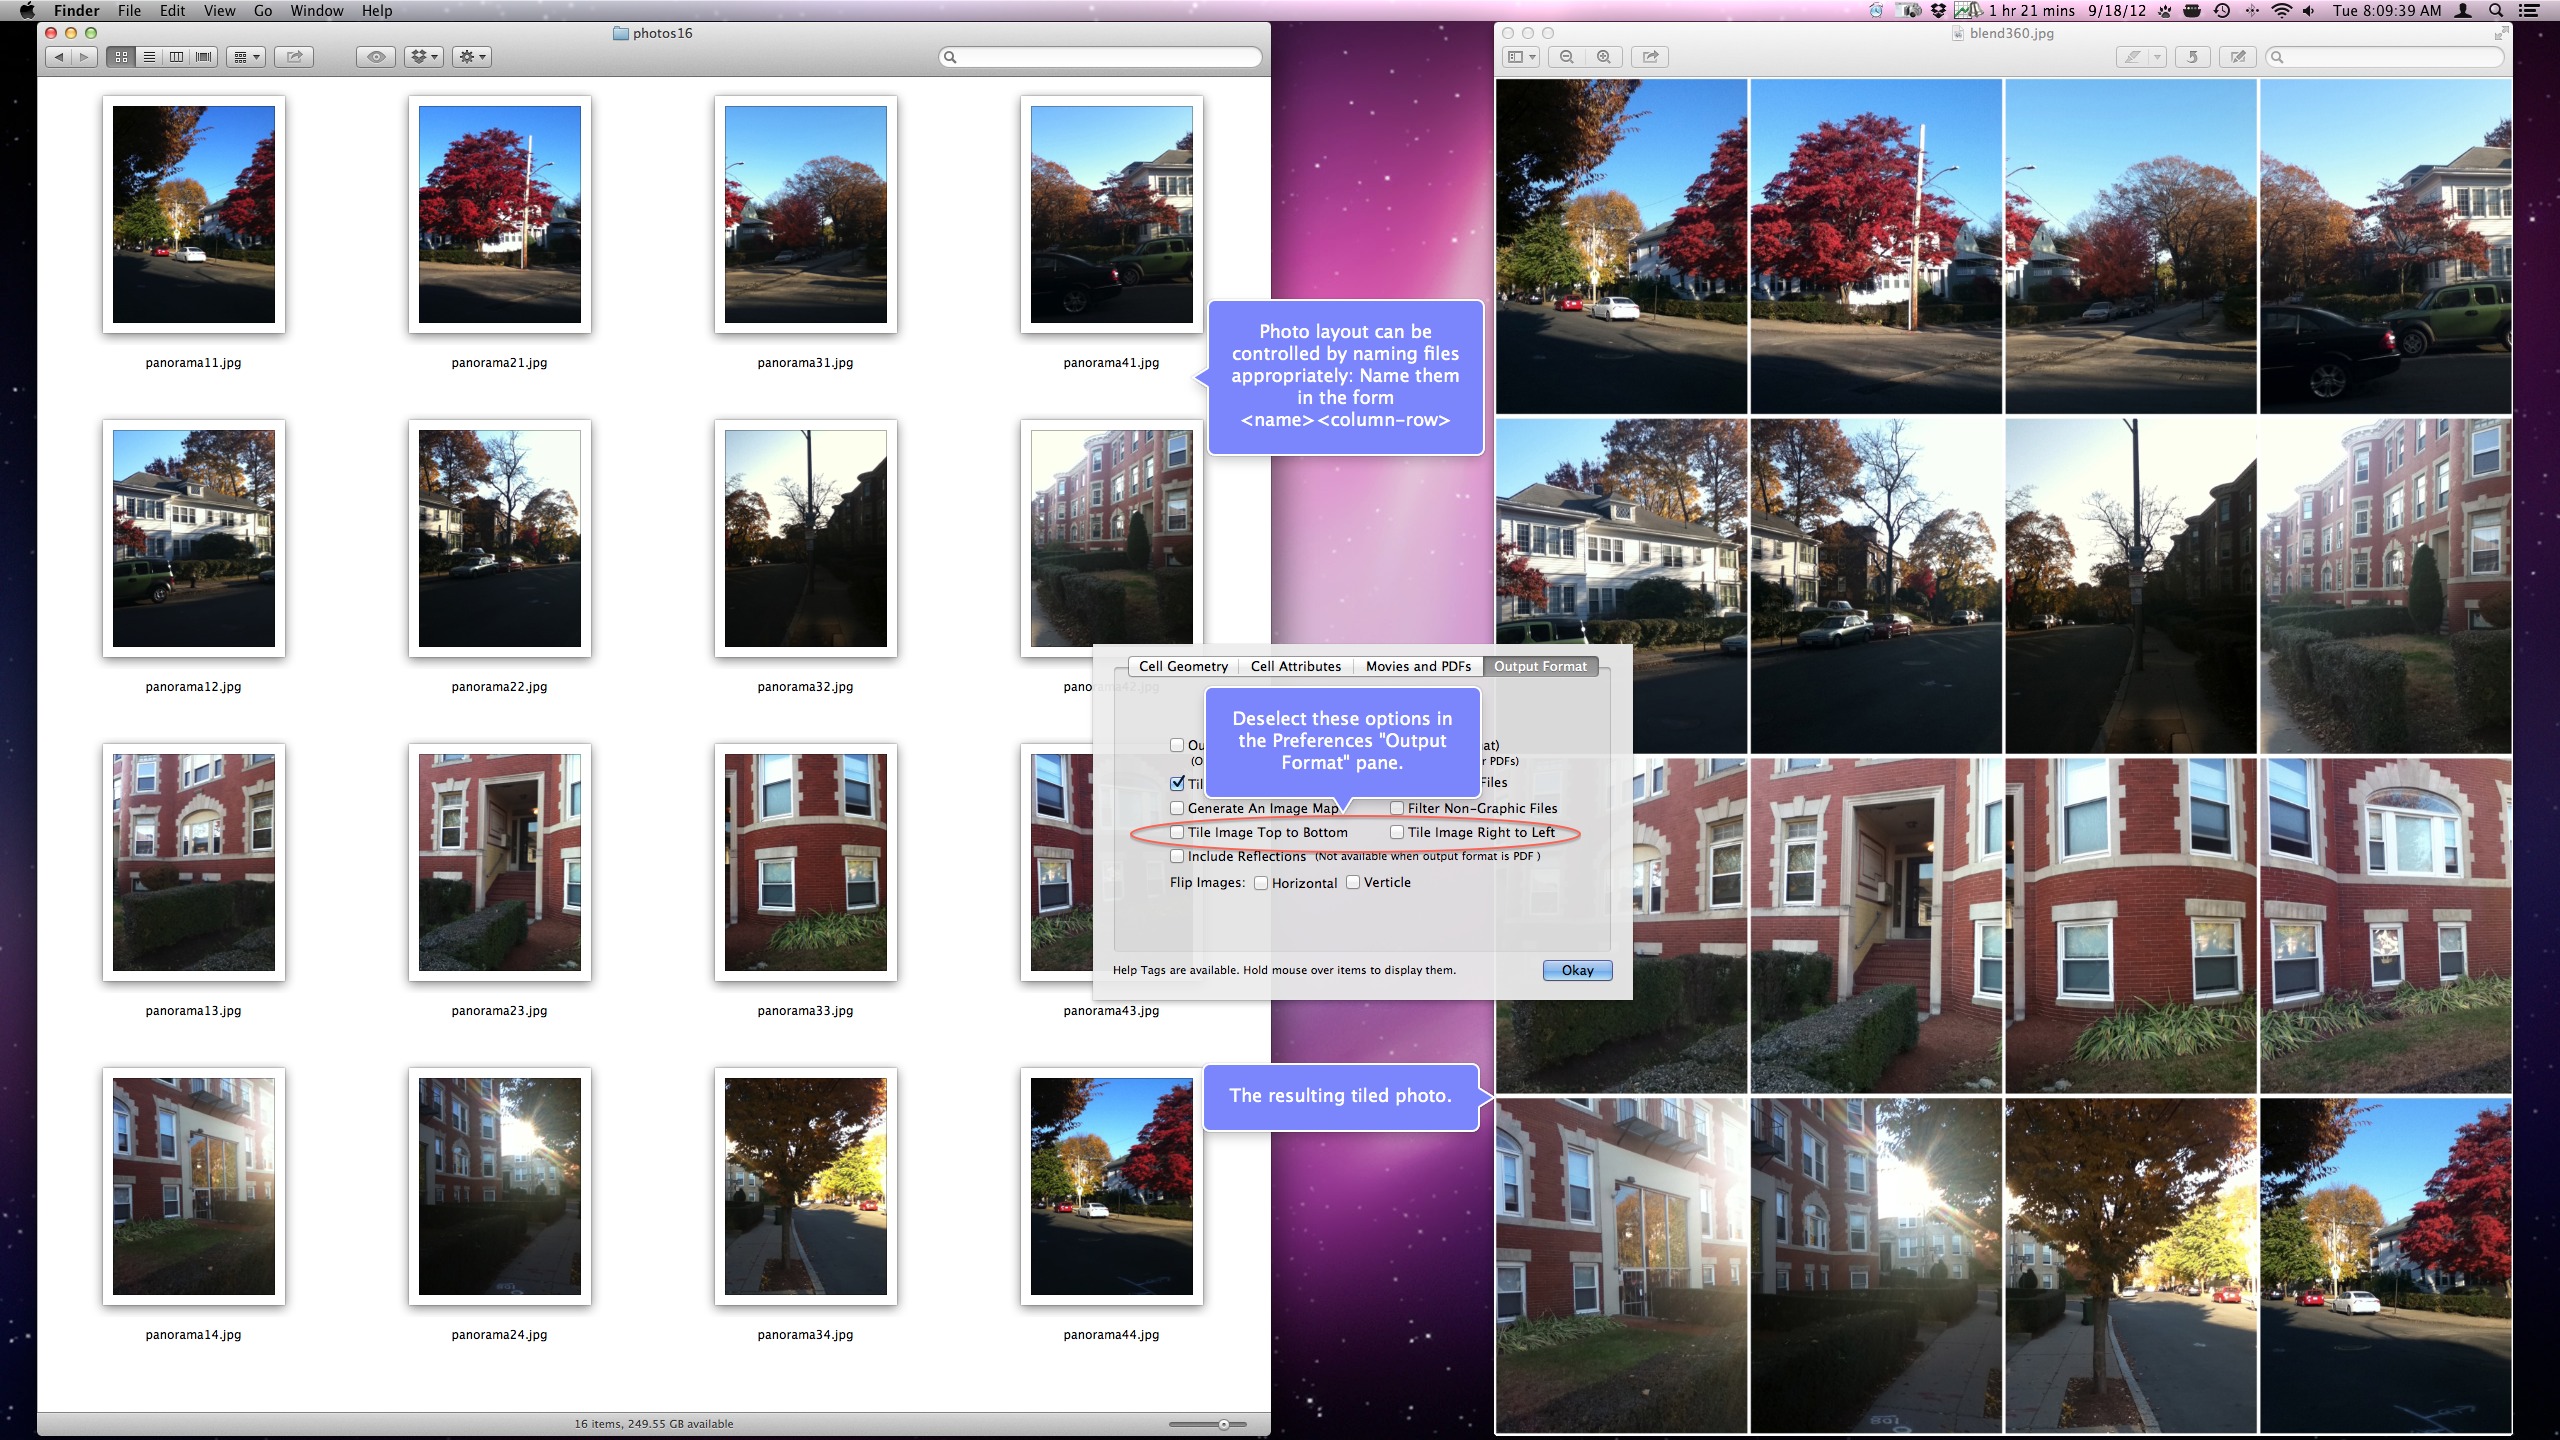
Layout by filename
You can specify the photo layout by naming the files appropriately, namely as
Preferences
After you launch the program the status window is displayed:

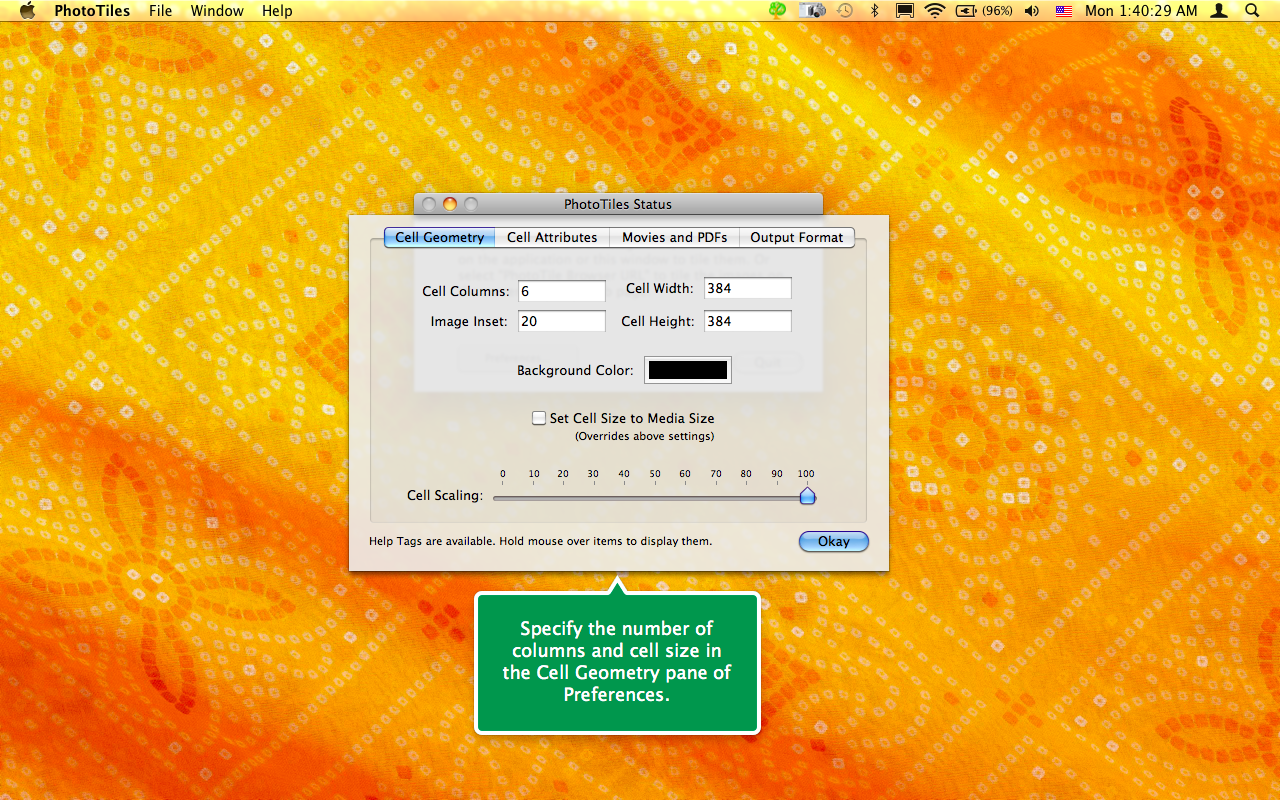
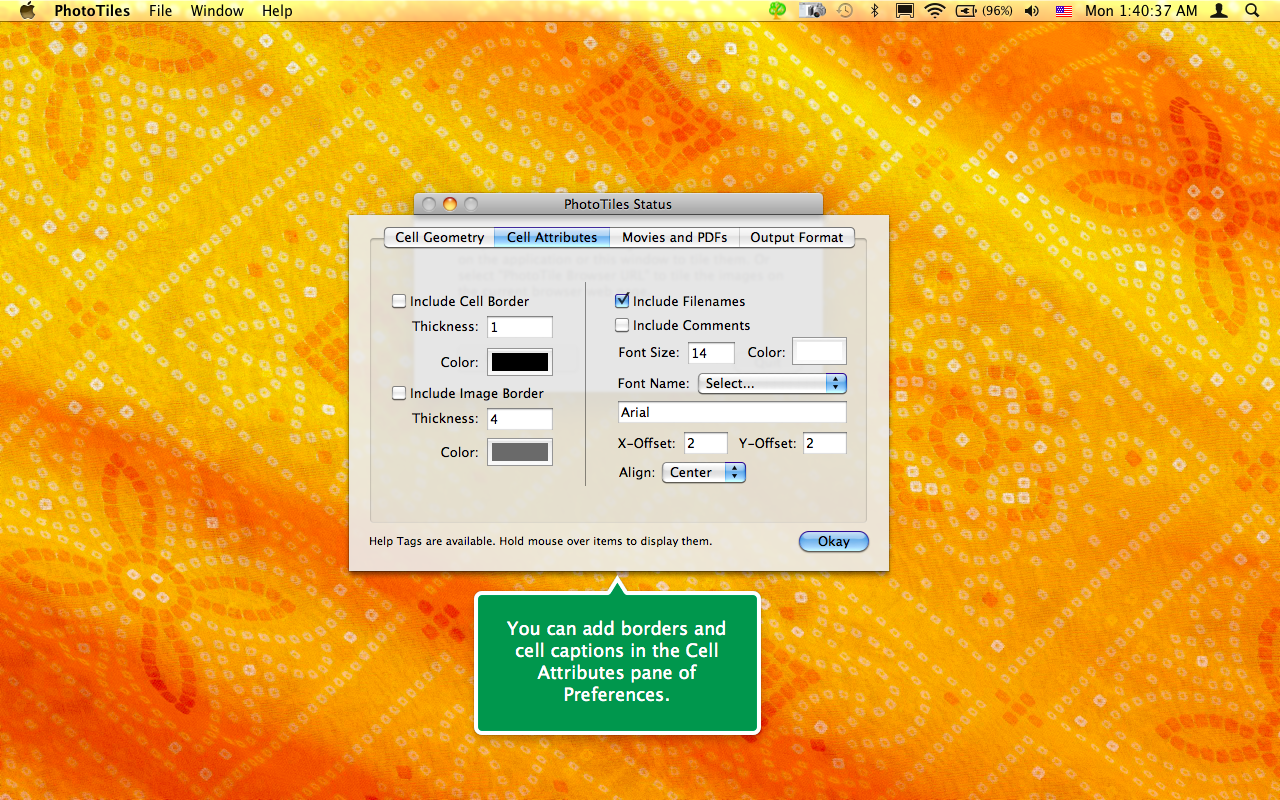
Click the Preferences button to open the Preferences window:
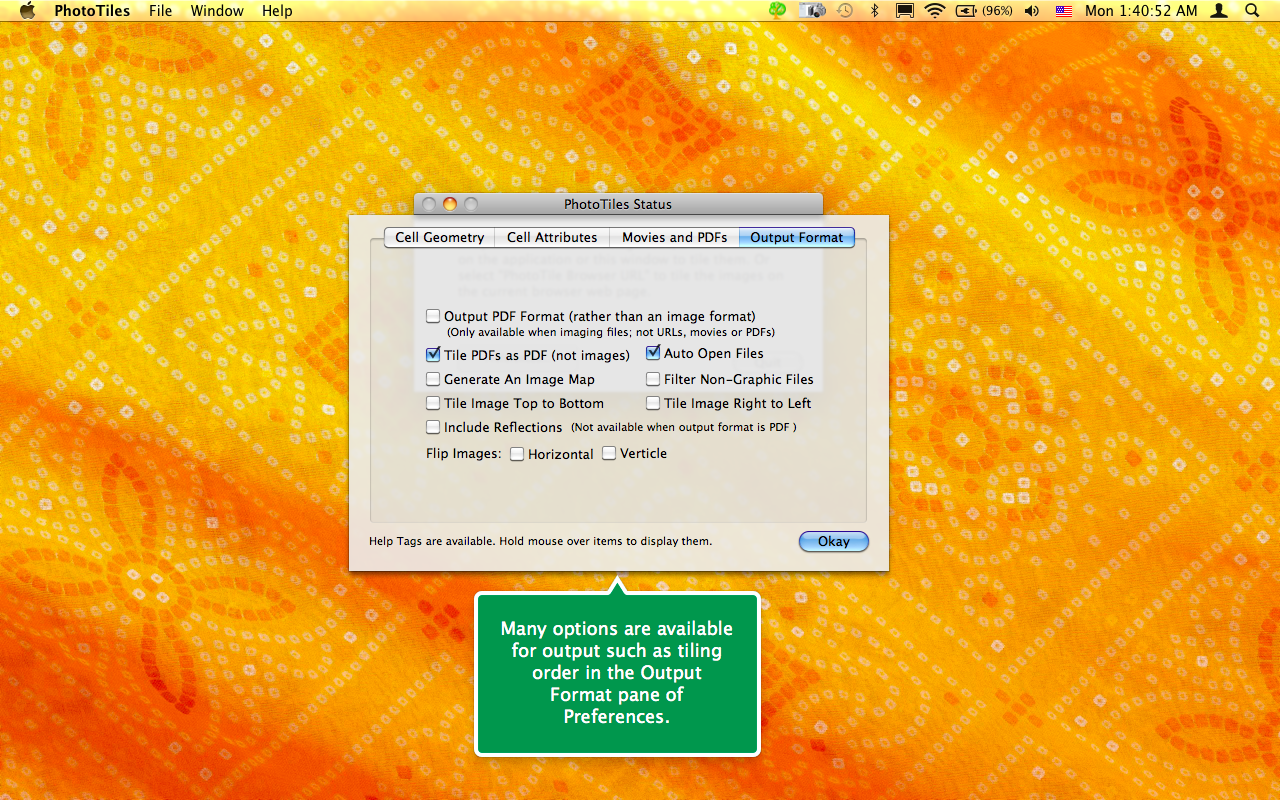
The preferences options include:
Columns: Number of columns of cells across the tiled image.
Cell Size: Width and height of each cell.
Cell Spacing: The distance between each cell.
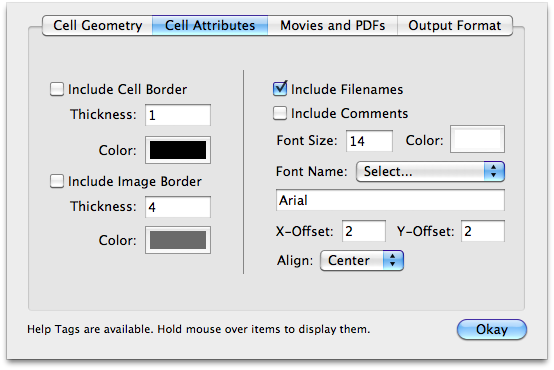
Include Cell Border: Select this option to frame each cell. You also specify the thickness of the cell border.
Include Image Border: Select this option to frame each image. You also specify the thickness of the image border.
Include Filenames: Select this option to display the image filename at the bottom of each cell. The size of the font can be specified. The "X Offset" is the horizontal offset from the left side of each cell to draw the filename. The "Y Offset" is the vertical offset from the bottom of each cell to draw the filename.
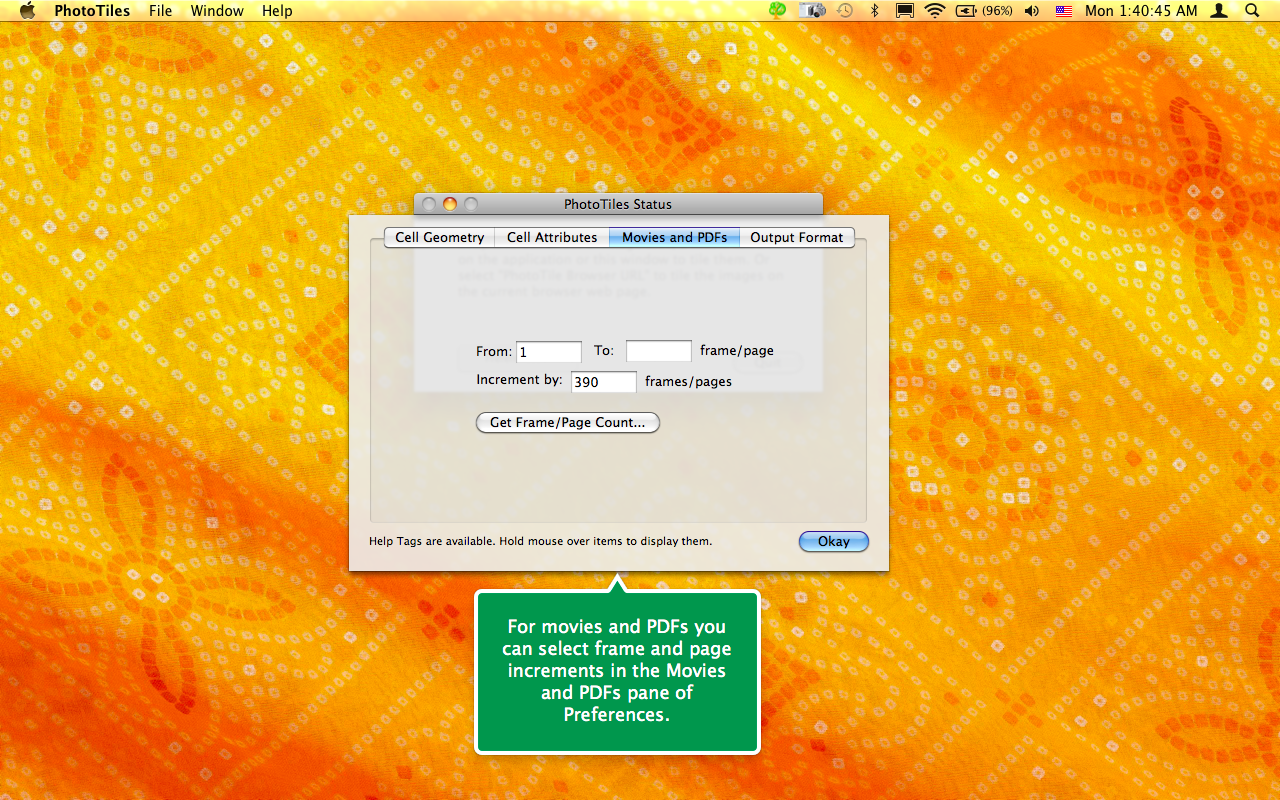
Movies - Skip: The spacing between selected frames for imaging.
Movies - From Frame: Start at this frame (numbering starts at 1).
Movies - To Frame: Stop at this frame. Leave blank to go to the end of the movie.
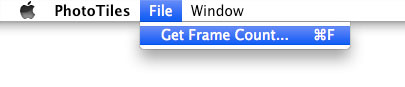
Movies - Get Frame Count: Get the frame count of a movie file.
Auto Open: Select this option to automatically open the tiled image after it is saved.
Filter Non-Graphic Files: This option is useful when you know the folder of images also contains files which are not images. Non-image files will cause the tiled image to have blank spaces since they can't be imaged. Deselect this option otherwise to improve processing speed.
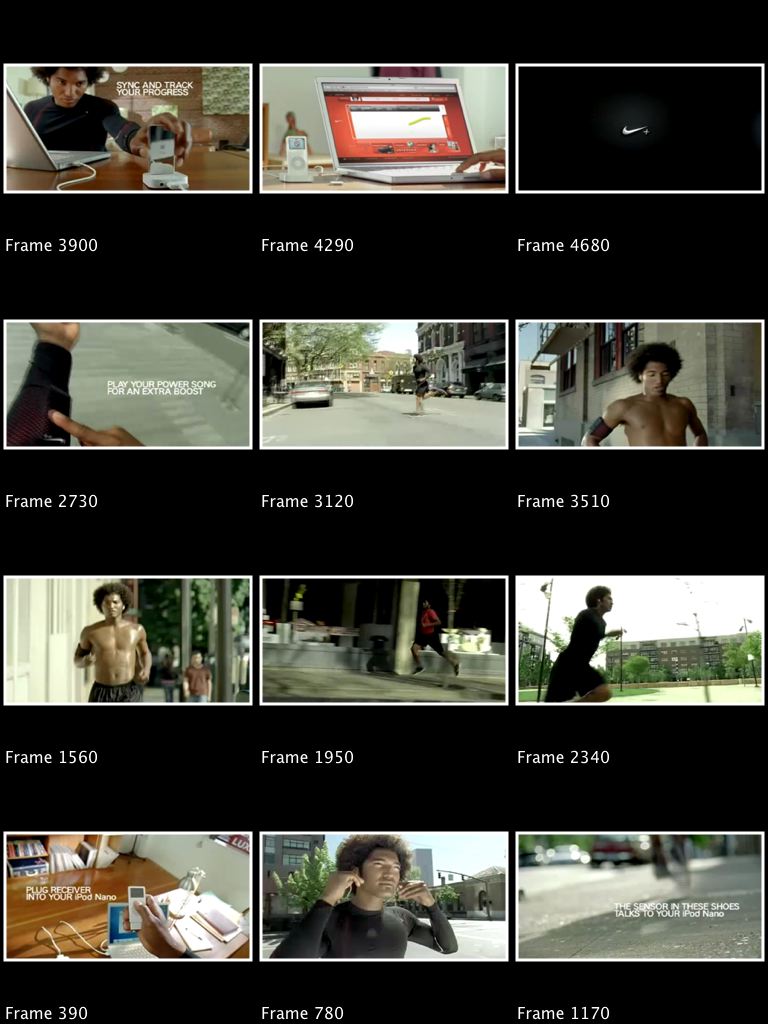
Using PhotoTiles you can generate a tiled image using frames from a movie. You can image all the frames of a movie between a given frame range, or specify an inteframe spacing to image just a subset of frames.
As an example we will generate a 3 x 4, or 12 image, tiled image using the following "TuneRunSync" movie:
The first thing we do is use the "Get Frame Count..." File menu item to determine how many frames are in the movie:
(the Preferences window also has a "Get Frame Count" button.) For this movie we get the result:
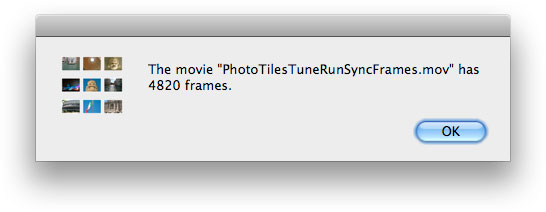
Thus the movie has 4820 frames. In order to generate a 3 x 4 or 12 image tiled image we need to determine the proper interfame spacing by dividing 4820 by 12 to obtain roughly 400, which determines the "Skip" parameter in the Preferences window. But the result better if we enter 390 as the "Skip" parameter in the preferences window:

We set the "From Frame" to 1 and the "To Frame" to "blank" so that the whole movie is processed. We also chose to "Include Filenames" so that each tile is labelled with its frame index. And we specifed a border of size 3 be placed around each tile. After we drop the movie file onto the PhotoTiles application the following tiled image is generated: