Mailings contains three types of message editors: Plain Text Alternative, Preamble and Epilogue. At the top of each editor window are popup menus for inserting template tags. In particular there is a popup menu that inserts tags that correspond to properties of Address Books cards, such email addresses, phone numbers or related names.
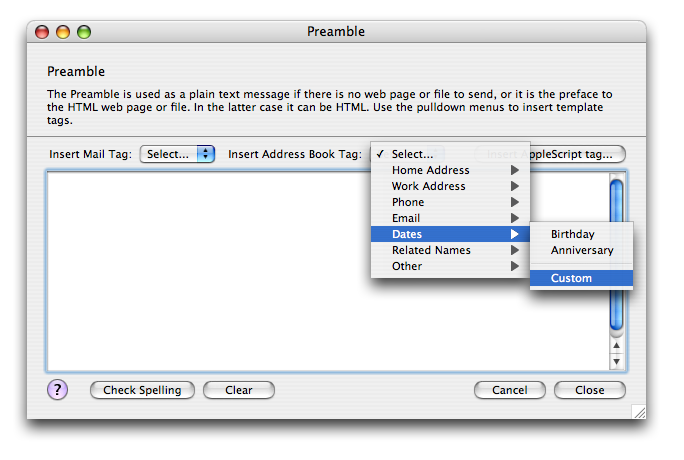
Mailings supports special template tags for accessing the values of Address Book custom labels for email addresses, phone numbers, dates and related names. To insert a tag for a custom label select "Custom" from the appropriate submenu of the Address Book tag popup menu.
For example, suppose you have a custom date tag named "enrolled" as shown here:

To include the "enrolled" value in, say, your preamble select "Custom" under the "Dates" submenu of the Address Book tag popup menu:
A tag of the form
{Date=CustomLabel}
is inserted in into the text:
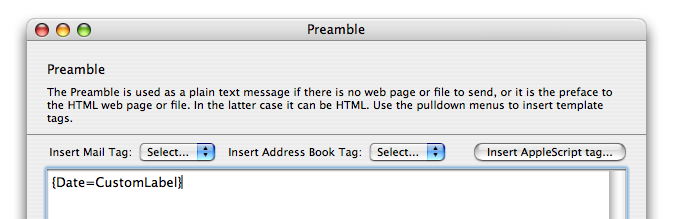
Now you need to replace the string "CustomLabel" with its name on the card, namely "enrolled" as shown:
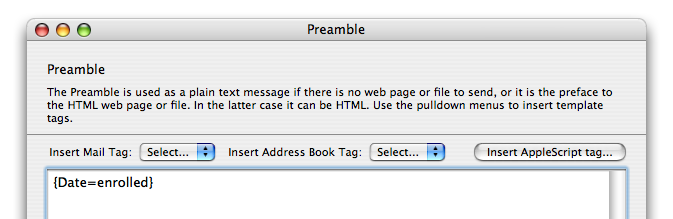
When this tag is evaluated during message generation for the recipient "Daniel Bernoulli" it will be replaced with the value of the custom date label named "enrolled," namely "June 8, 2007."
Here is a more detailed example:
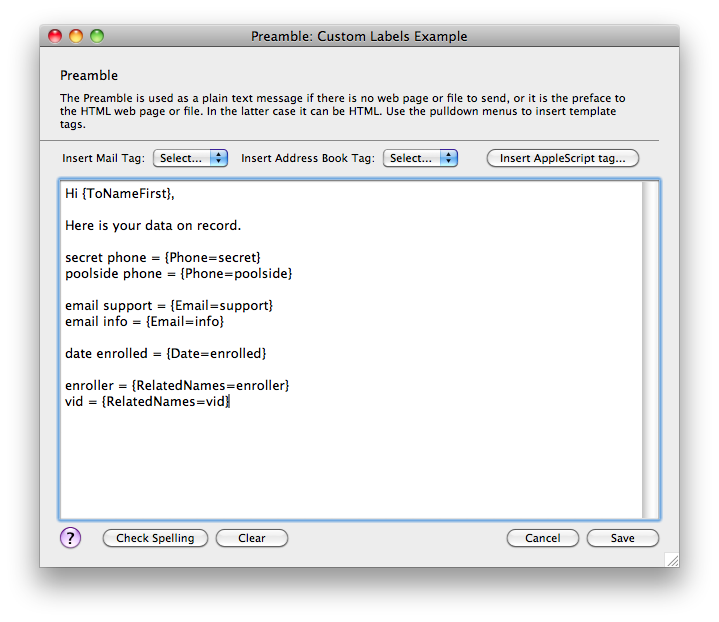
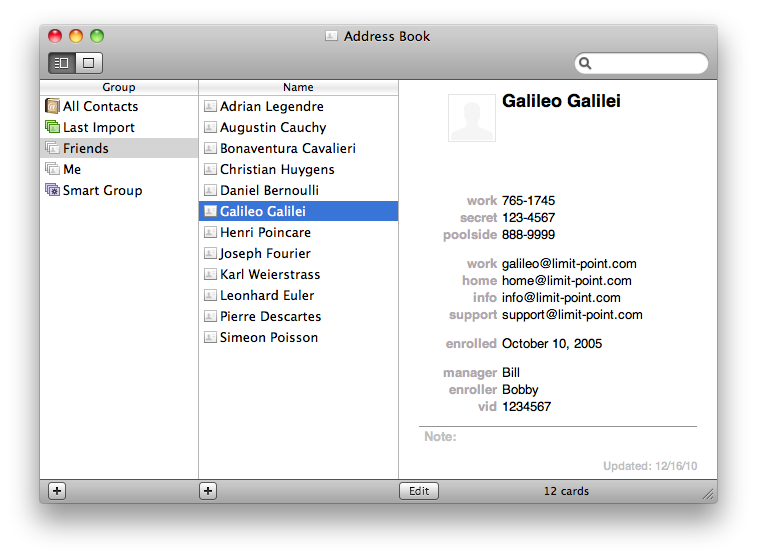 For a card with the custom labels shown above for "Galileo" we can create a preamble with the following tags inserted:
Try It!
You can download a sample vCard which you can import into Address Book (drag it into a group in Address Book), and download a sample Mailings document whose preamble contains template tags that access the custom lables that correspond to the new card.
Download "Custom Address Book Lables" Example
These are the two files in this archive:
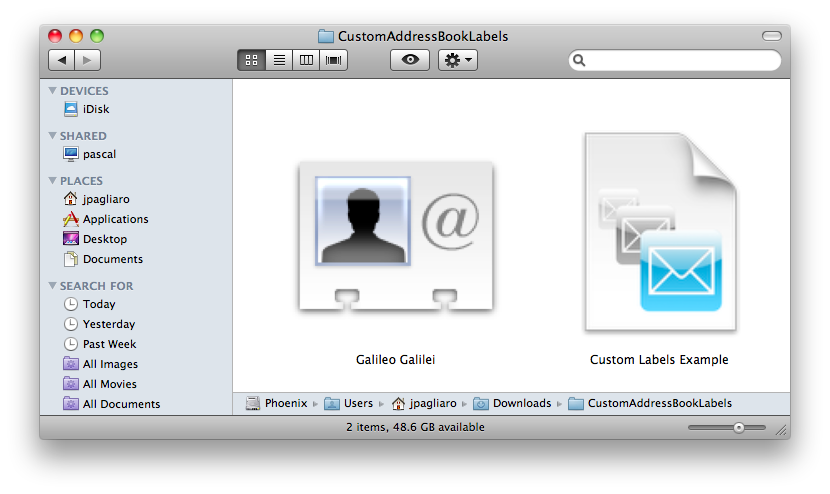
Drop the vCard named "Galileo Galilei" into Address Book. Edit the email addresses on this new card so that the sample mail is sent to you (and not me!)
Now drop the accompanying Mailings file "Custom Lables Example" onto Mailings. Make sure the "Group" tab is selected, then click "Select Recipients..." and make Galileo the sole recipient of the mailing. Close the select recipients window. Enter your mail server settings and then click the "Send" button.
Check your mail. You should receive a message which looks something like this: